Mizzli Arts | Wallpaper Shops near me | Decorating Shops near me

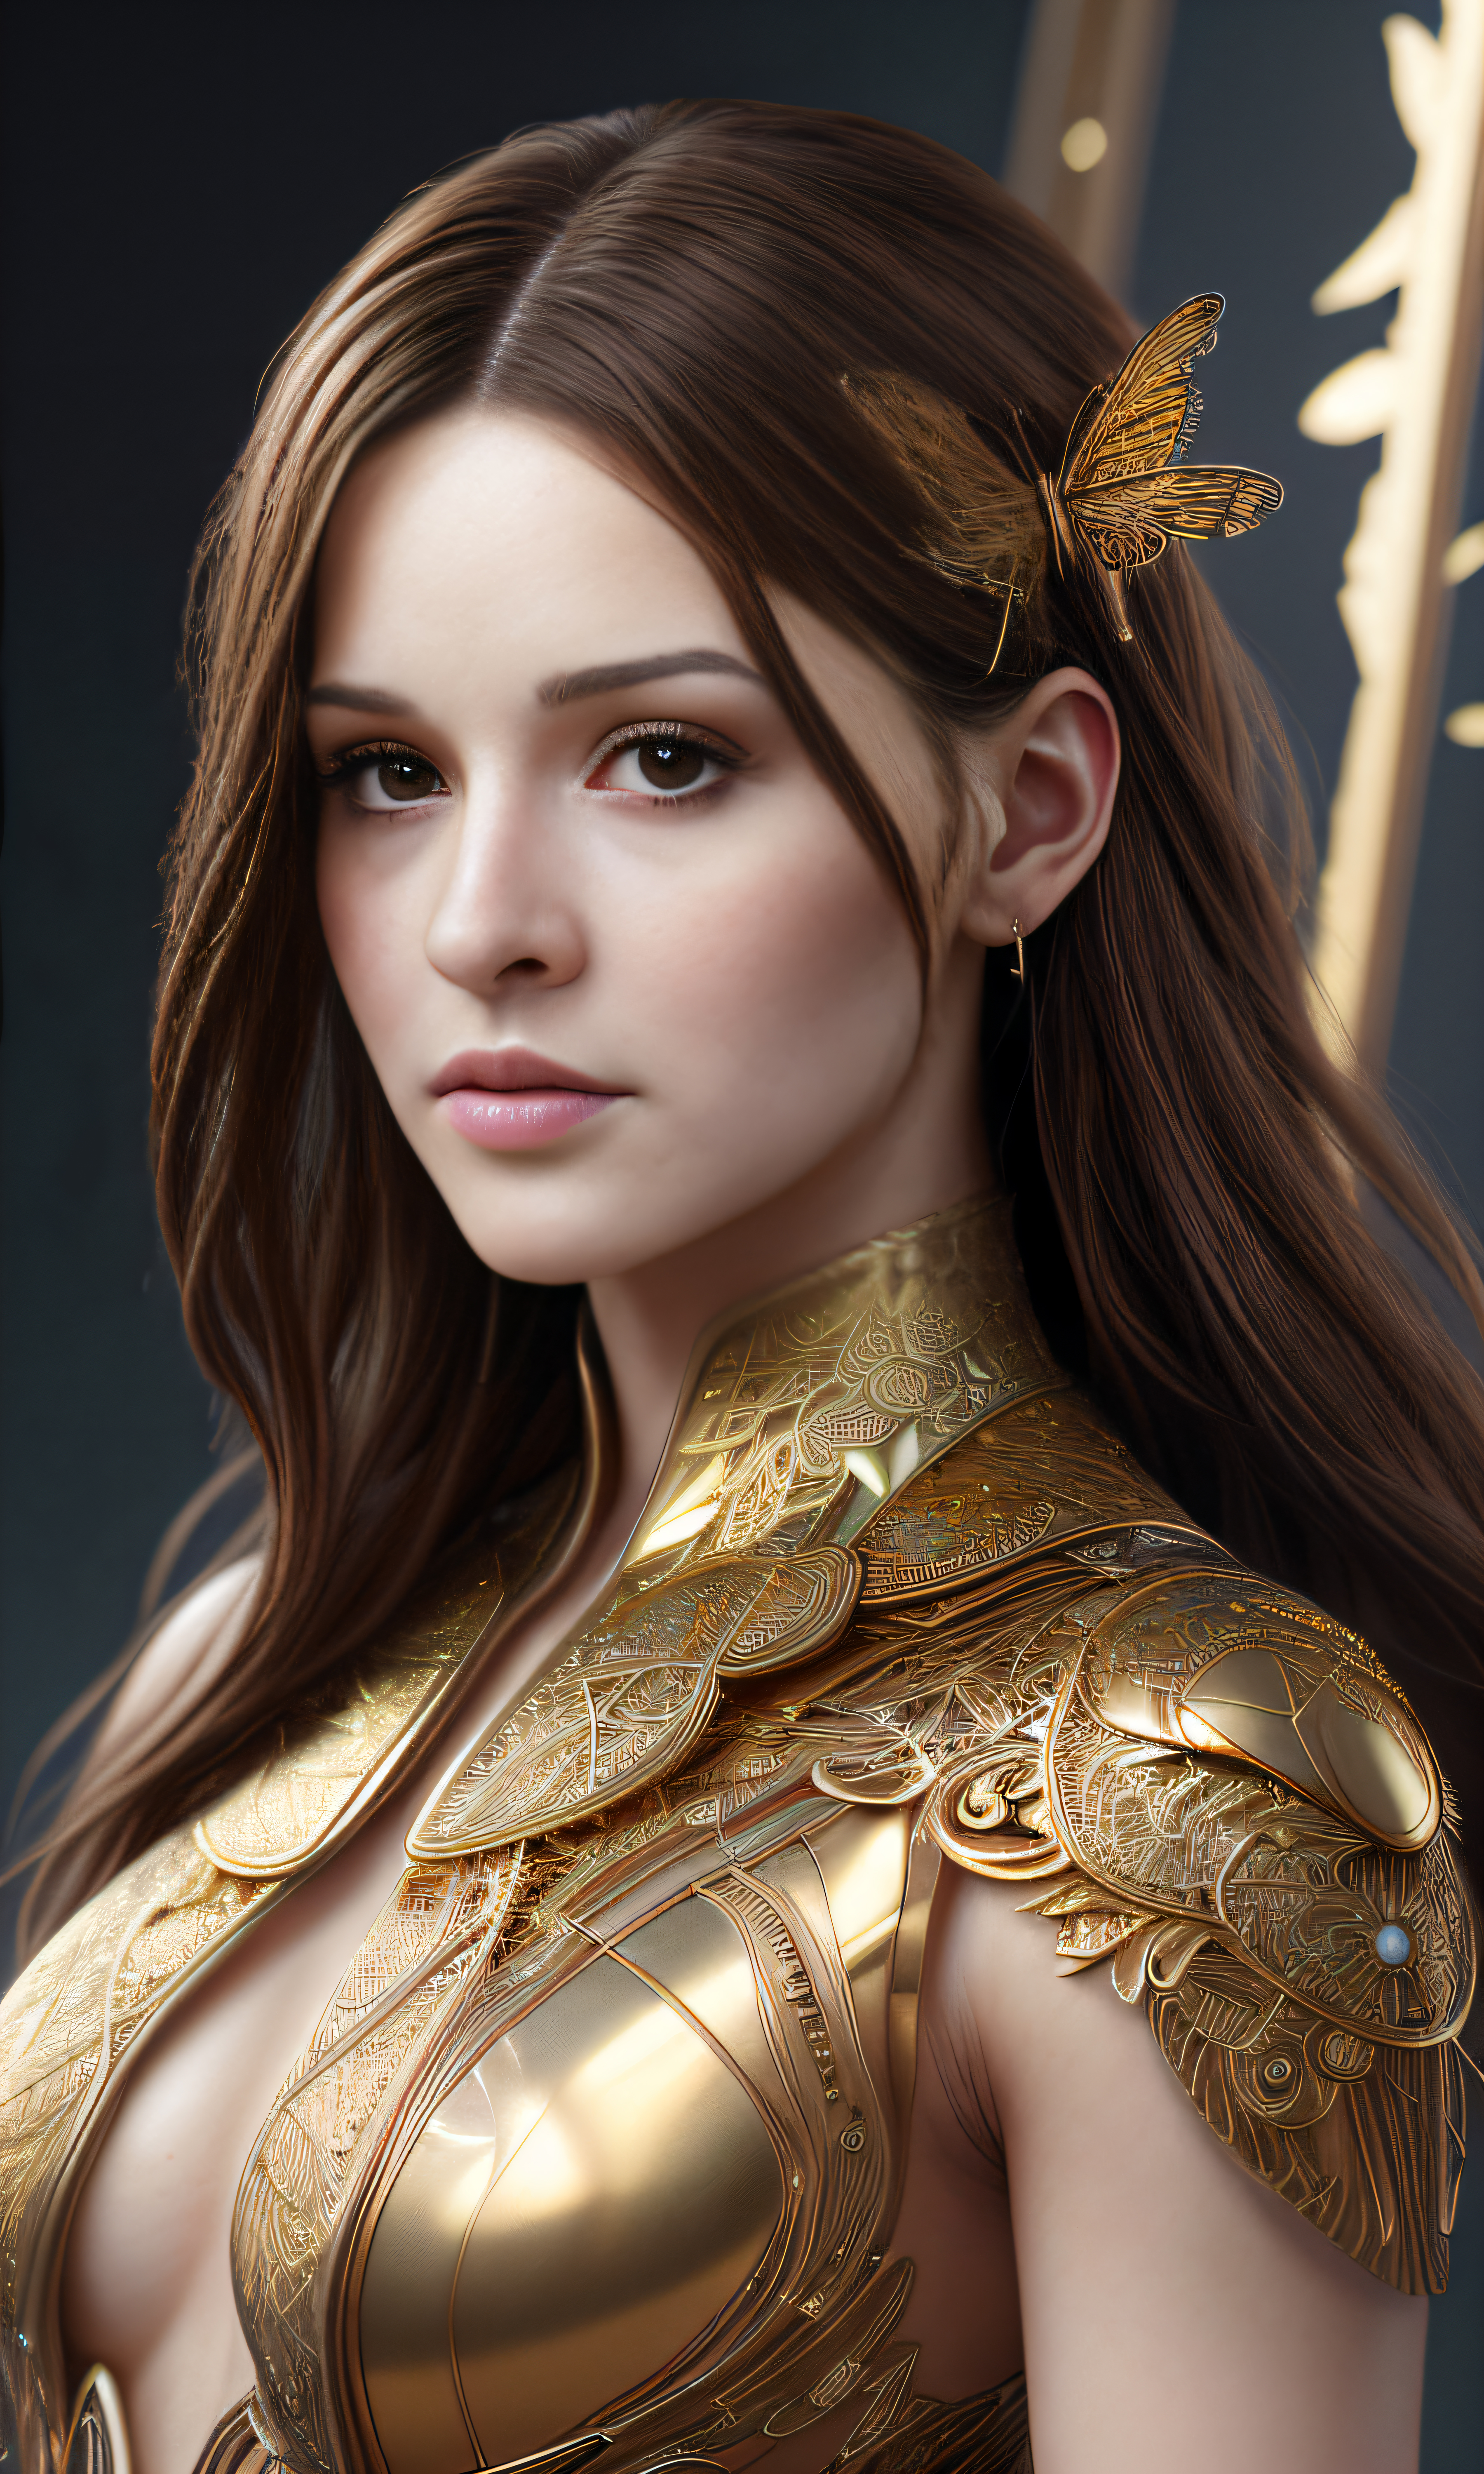
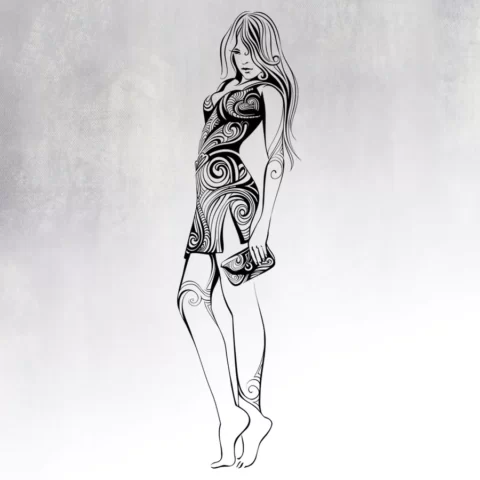
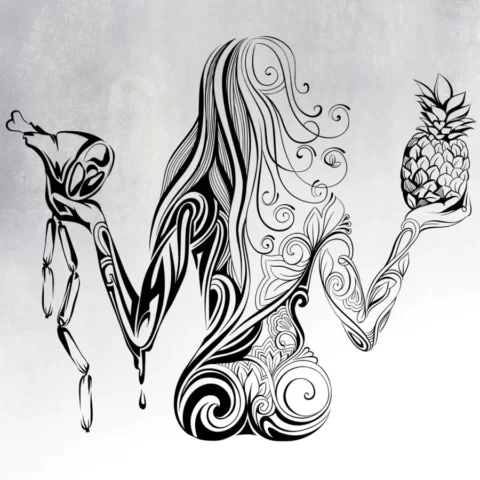
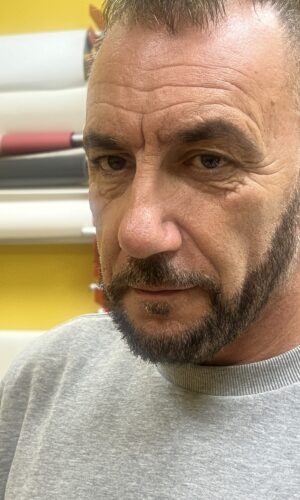
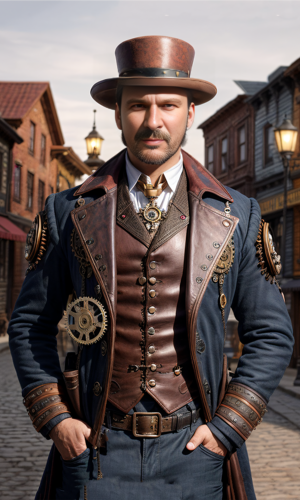
Personal Portrait – Style 15
£45.00 – £380.00
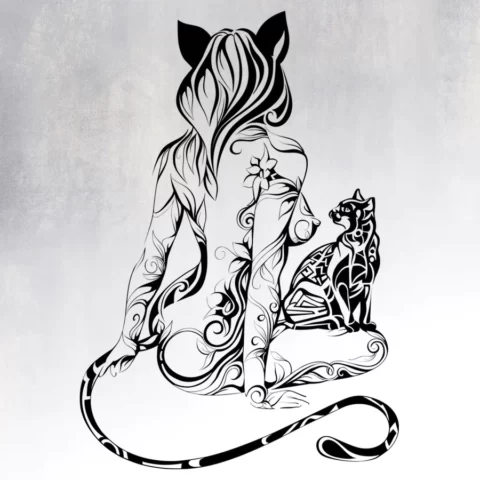
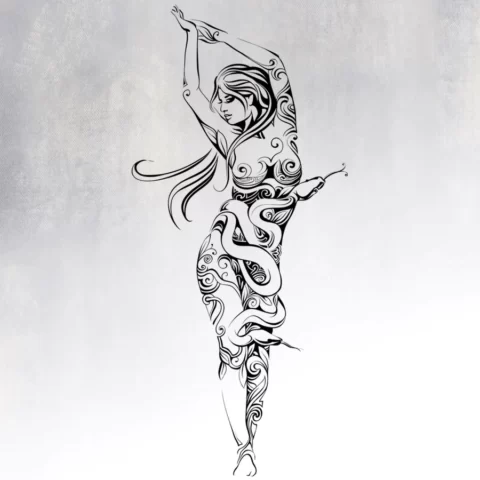
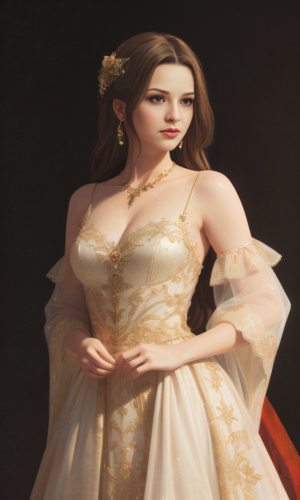
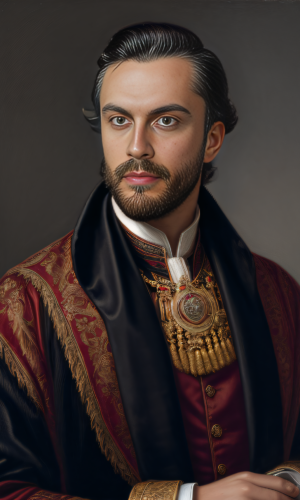
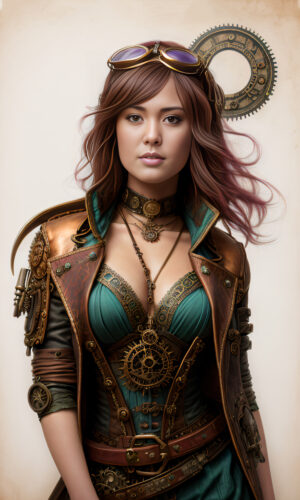
Personal Portrait – Style 14
£45.00 – £380.00

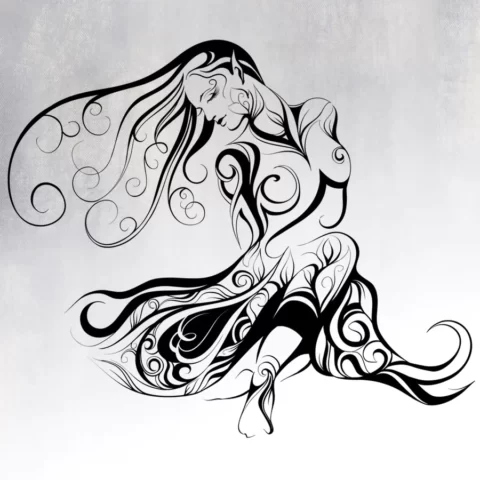
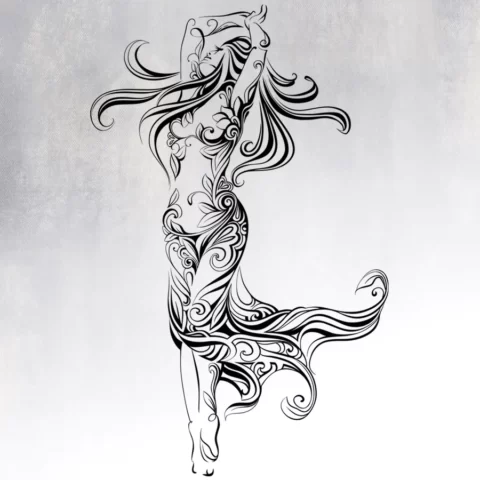
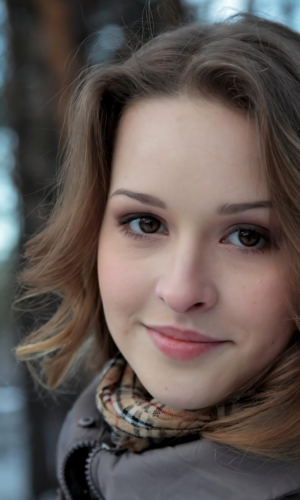
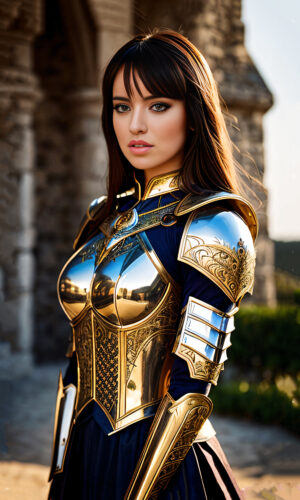
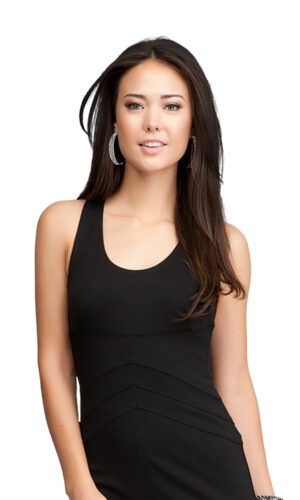
Personal Portrait – Style 13
£45.00 – £380.00

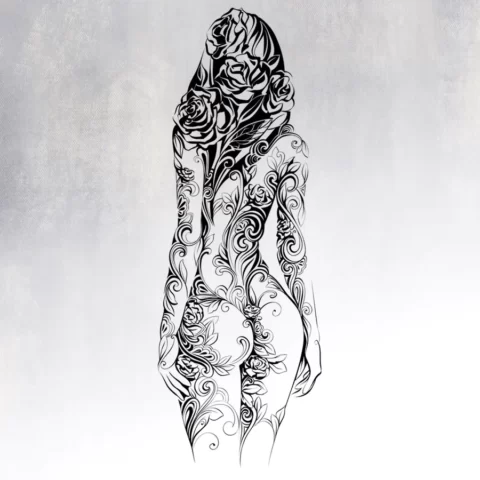
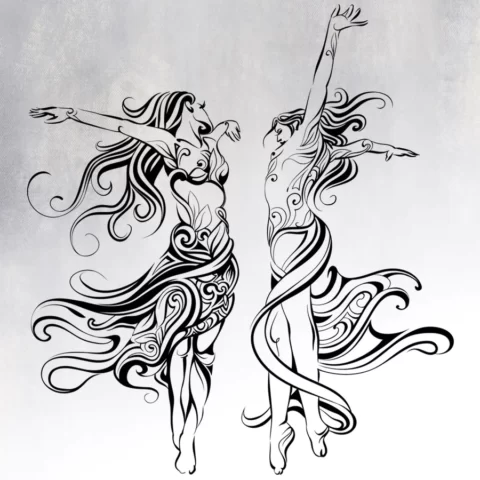
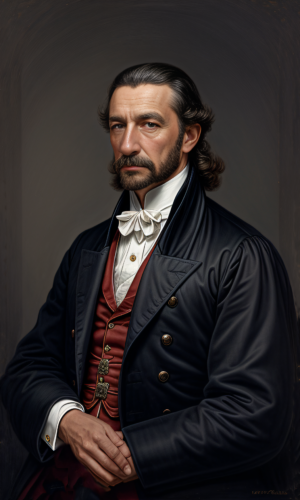
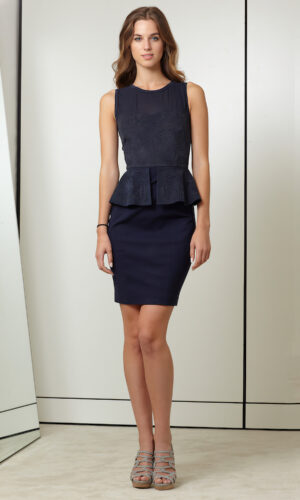
Personal Portrait – Style 12
£45.00 – £380.00

Personal Portrait – Style 11
£45.00 – £380.00

Personal Portrait – Style 10
£45.00 – £380.00


Personal Portrait – Style 9
£45.00 – £380.00
Personal Portrait – Style 8
£45.00 – £380.00
Beautiful Woman
Rocks
What's New